Latest Articles
-
Uncategorized
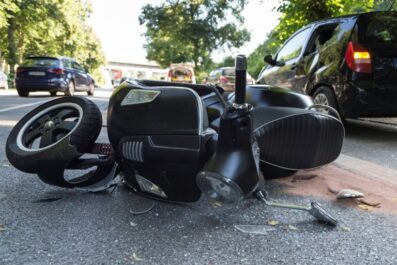
Motorcycle Passenger Injuries: Rights and Compensation
Bakersfield, California, epitomizes the essence of California living with its vibrant culture and dynamic spirit. Situated in the heart of…
Read More » -
Law

Navigating Legal Recourse for Personal Injuries in Public Transportation Accidents in Indiana
In Anderson, Indiana, where public transportation serves as a vital link for many residents, accidents involving buses, trains, and other…
Read More » -
Law

Psychological Injuries in Personal Injury Claims: Seeking Damages and Recovery
In Texas, where vehicle accidents are distressingly common, with over 250,000 injuries reported in 2023, the aftermath often extends beyond…
Read More » -
Lifestyle

The Consequences of Poisoning Birds in the UK
It’s essential to know about the legal repercussions of poisoning birds in the UK. This issue is ethically troubling and…
Read More » -
Business

How Long Will $750,000 Last in Retirement: Estimating Your Financial Longevity
Determining the longevity of your retirement savings is a critical aspect of planning your future. With $750,000 saved, you may…
Read More » -
Entertainment

5 Casino Games Rookies Should Master First
Ever thought about trying a casino? It can be a fun experience with all the sounds of slot machines, the…
Read More » -
Law

Truck Driver Fatigue: A Leading Factor in Accidents
Truck driver fatigue is one of the predominant causes of accidents on the roads of California, a state known for…
Read More » -
Law

Understanding No-Fault Car Insurance Systems and Claims
League City, Texas, a thriving community nestled along the Gulf Coast, embodies the quintessential Texan spirit of resilience and camaraderie.…
Read More » -
Personality

Leonardo DiCaprio: Biography, Personal Life, and Estimated Net Worth
Leonardo DiCaprio is one of the most precious and celebrated actors today. Leonardo DiCaprio was born in Los Angeles, CA,…
Read More »